
An editor user is able to create projects on his own.
A project includes a set of scenes, dashboards and presentations.
An editor user is able to create projects on his own.
A project includes a set of scenes, dashboards and presentations.
1.Start the project
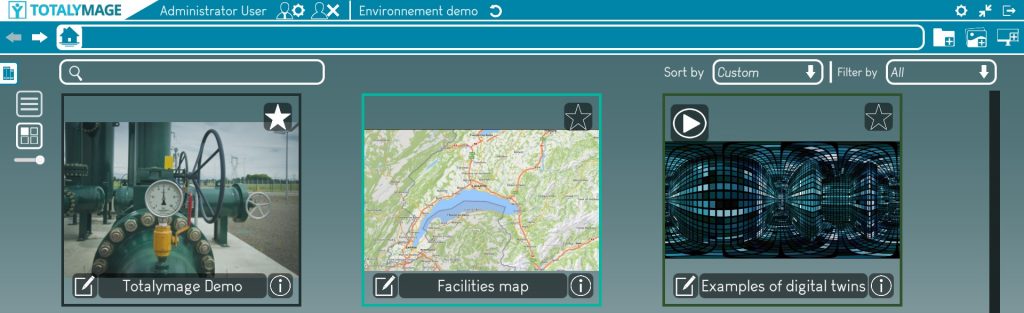
There are two ways to open the project creation window.
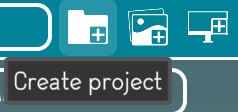
First way : Click on the “Create project” button
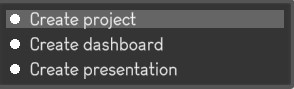
Second way : Click right at any place on the background of the environment main page, the following menu will be displayed.
And just click on the “Create project” link to start the project creation.
2.Write the name of the project
A name is compulsory to create a project.
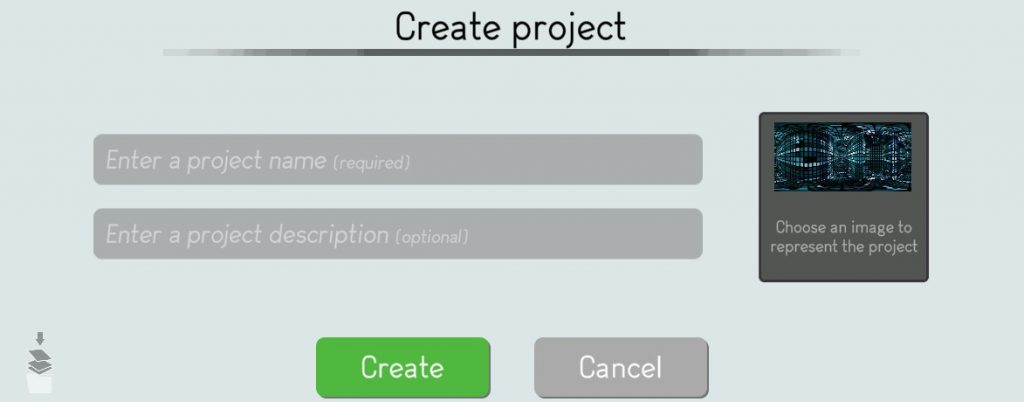
3.Choose an image to represent the project
It’s nicer in the environment main page to see specific pictures for the projects.
The editor user may click on the image thumbnail to access the image browser.
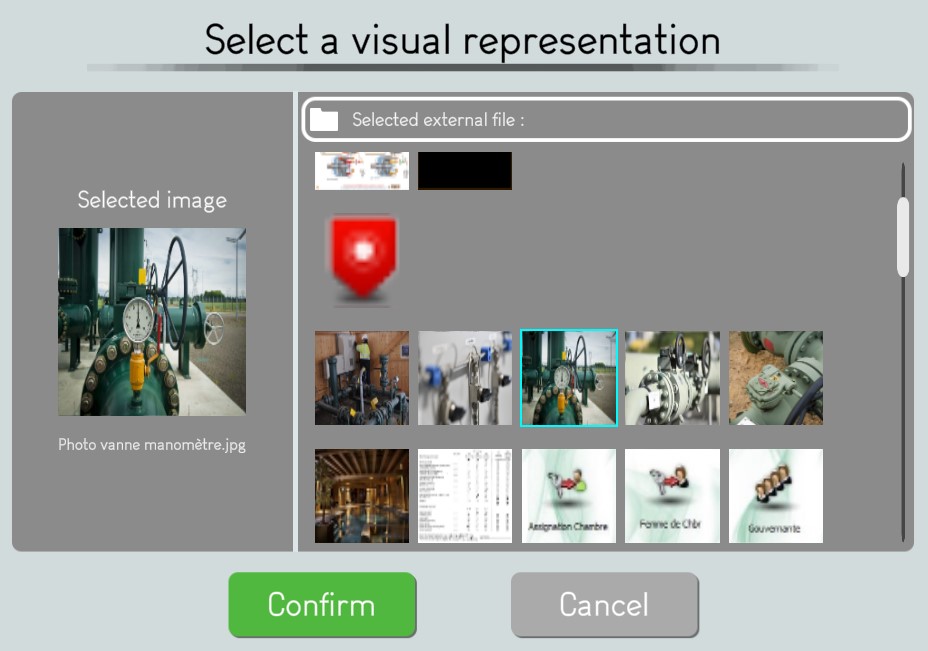
The editor user may browse and select a visual representation for the project.
4.Validate the project creation
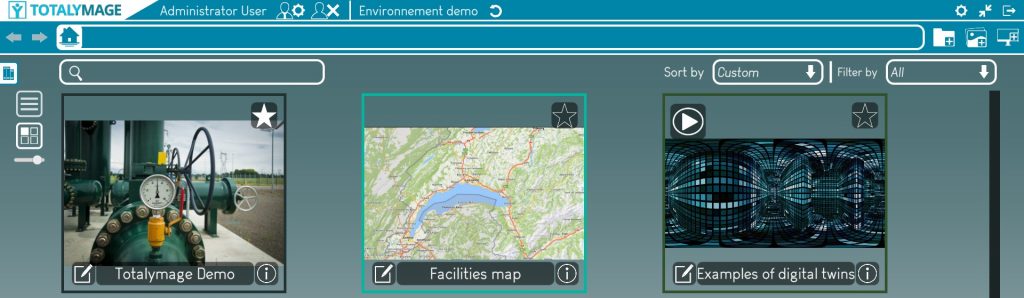
The editor user has to click on the “Create” button to validate the creation of the project.
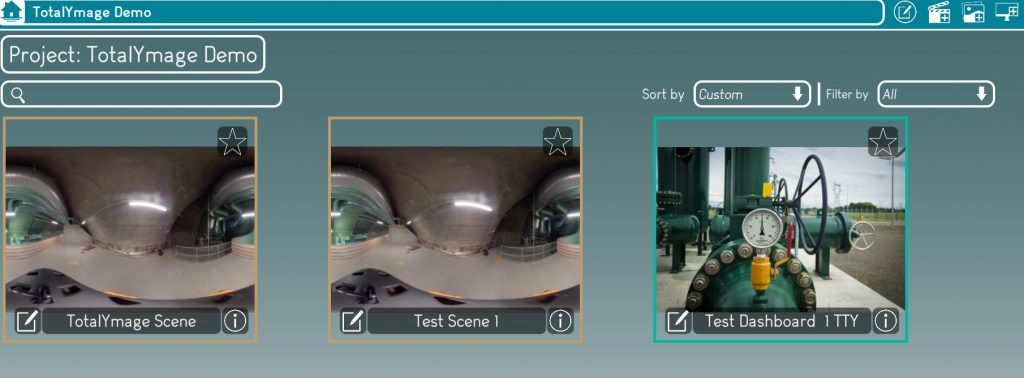
A project thumbnail appears with a black outline in the environment main page.
Once a project is created an editor user is able to create scenes, dashboards and presentations.