
An editor user is able to create dashboards on his own.
A dashboard can be created in an environment or in a project.
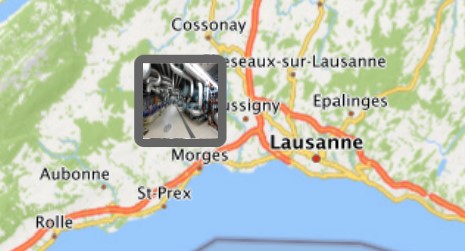
A dashboard is a single 2D image from a picture or a PDF, where an editor user can position a 2D overlay.
This allows a user to click on a 2D overlay on a dashboard to access a specific content.
1.Start the dashboard creation
There are two ways to open the dashboard creation window.
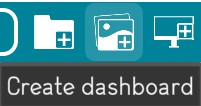
First way : Click on the “Create dashboard” button
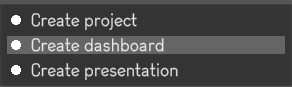
Second way : Click right at any place on the background of the environment main page for an environment dashboard, or in a project page for a project dashboard, the following menu will be displayed.
And just click on the “Create dashboard” link to start the dashboard creation.
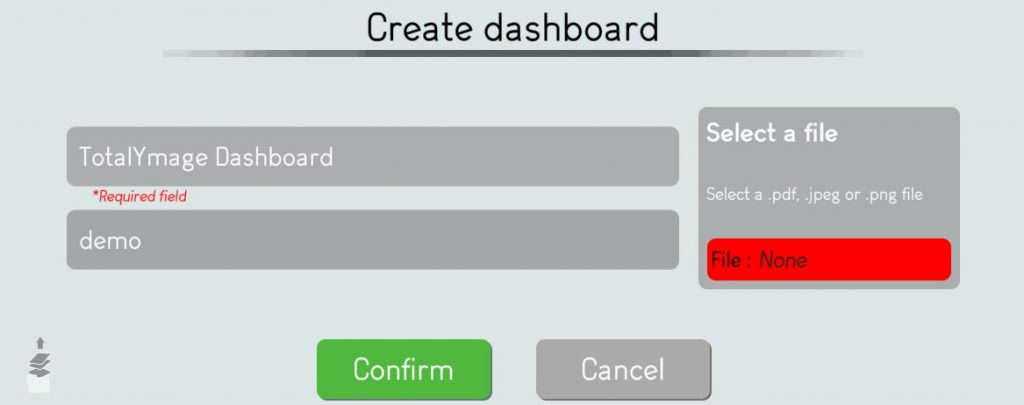
2.Write the name of the dashboard
A name is compulsory to create a dashboard.
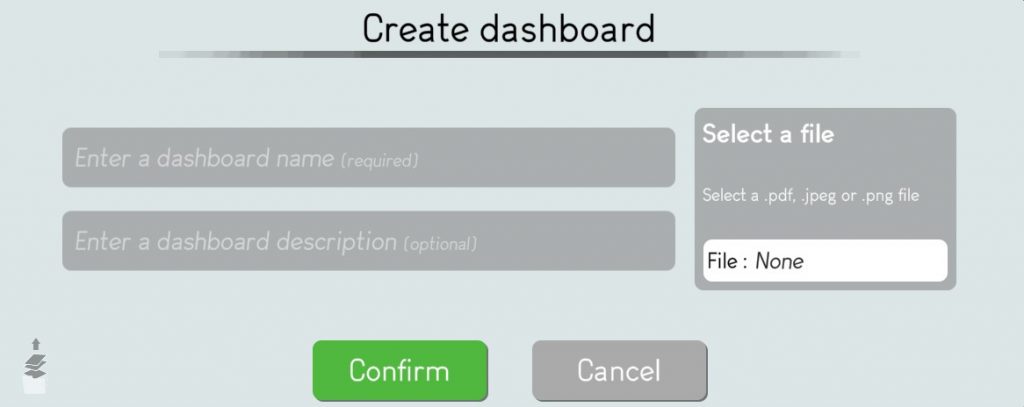
3.Choose a 2D image to represent the project
The editor user must upload the 2D image in .jpg, .jpeg, .png or a PDF.
The editor user may click on the “Select a file” section to access the image browser.
The editor user may browse and select the dashboard file.
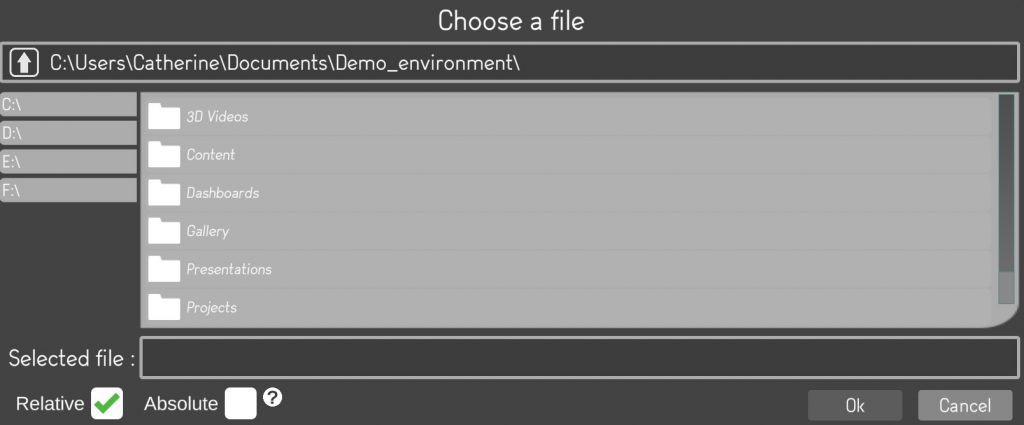
Once selected the editor user must click on the “Ok” button to validate the file selection.
4.Validate the dashboard creation
The editor user has to click on the “Confirm” button to validate the dashboard creation.

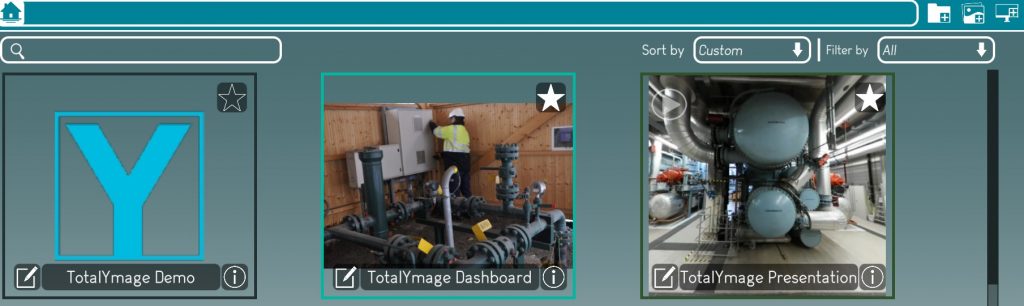
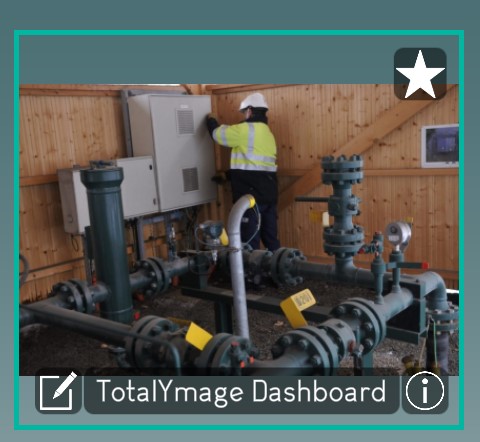
A dashboard thumbnail appears as a light green outline in an environment main page and in a project page.
Once a dashboard is created an editor user is able to add 2D overlays or to link an existing 2D overlay with the dashboard.